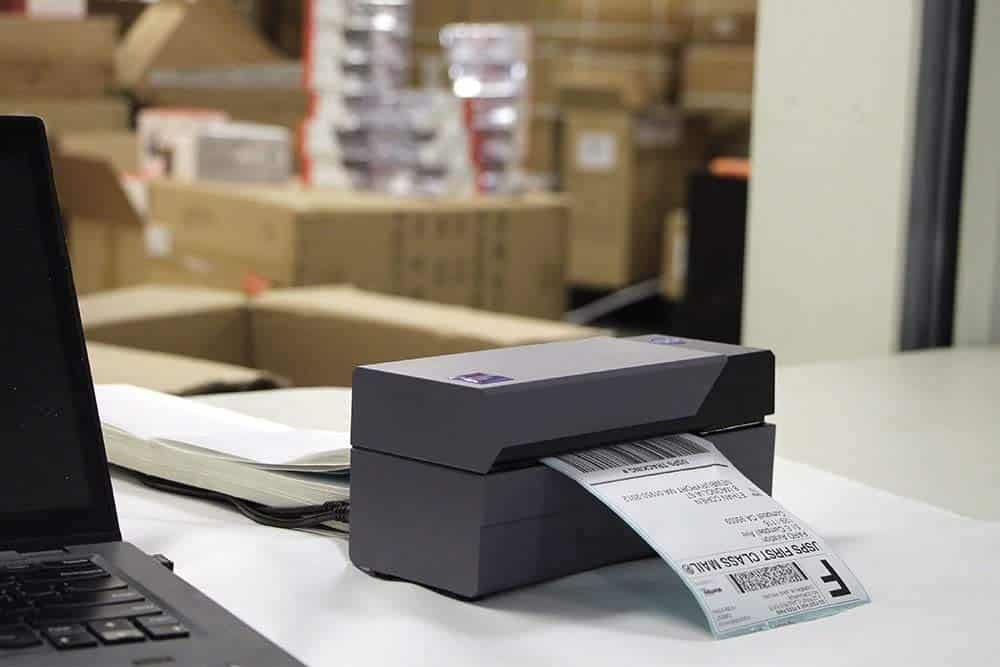
Rollo printers are recommended for everyday batch label printing in shopping places. These printers are high-quality and have great features. I’m a printer expert, and I teach people how to setup their printers for their devices correctly. In today’s blog, I’ll teach you “how to setup Rollo printer on Mac“. As most of the printer users are Windows users, dealing with a Mac computer may intimidate them.
Therefore, I’ll try to make all of them comfortable with a Mac computer. Also, you must know which type of connections are possible with your printer and a Mac computer. So, let’s discover everything in this guide. I’m definitely sure you’ll like it.
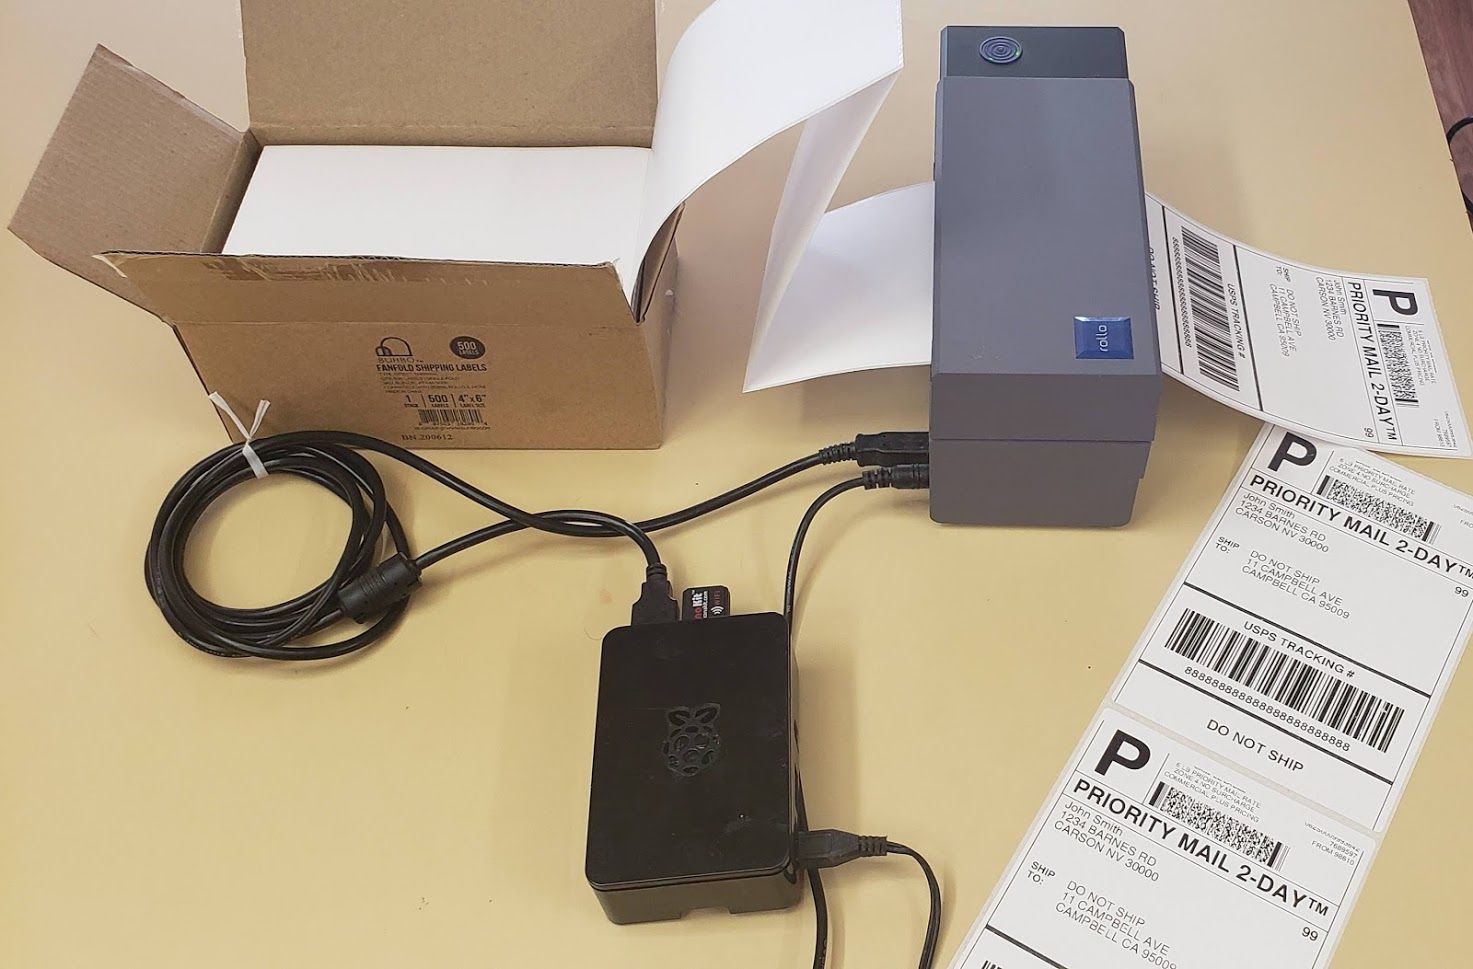
Step 1: Unboxing Your Rollo Printer
The first and foremost step to learning ‘how to setup Rollo printer on Mac‘ is unboxing a printer. Yes, you need to check if your printer is in good condition and if it has all the necessary accessories you’ll need during the setup process, such as a user manual, USB cable, and power cord. Once you check all of these things, you’re good to go to setup your printer.
Moreover, all the hardware requirements and operating system compatibility must be checked to setup the connection correctly.
Step 2: Rollo Printer Driver Download
To setup your printer correctly, you need to get printer drivers from Rollo’s website. This step is a must for moving forward with the setup:
- Visit Rollo printer’s official website.
- Then, search for the latest printer drivers under the Support or Downloads section.
- After that, hit the Download button next to the printer driver you want to download.
- Don’t forget to select the operating system as Mac if asked.
- Now, your file is successfully downloaded under the Downloads folder or any location by default.
- Then, reach that folder and double-click on it to extract it.
- Next, let the installation begin.
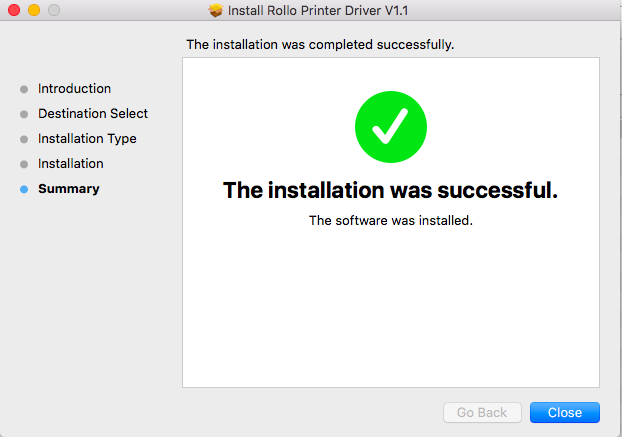
- Once the printer drivers are installed, restart your computer.
That’s how you’ll take one step to setup your Rollo printing device on a Mac computer.
Step 3: Connect Your Rollo Printer to Your Mac
Finally, you’ll learn the main part, which is the connection between your computer and printer device. Check the steps below to setup a connection:
- To start the process, check that your printer is ON.
- Also, connect the printer to a power outlet to start the setup.
- Now, search for the USB port on your printer and computer.
- After that, let the Mac identify your printer.
- Your devices may connect automatically, or you may need to follow some on-screen prompts.
Finally, your printer is connected to your Mac system via a USB cable. Now, let’s learn ‘how to setup Rollo printer on Mac‘.
Step 4: Setup Your Rollo Printer on Mac
Here, you’ll learn the setup process between your printer and Mac system. Check out the steps below to learn more:
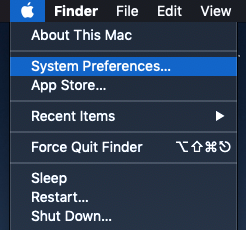
- On your Mac, head to the “System Preferences” option.
- Then, head to the Printers & Scanners page. From here, you can initiate the connection.
- Under the Printers and Scanners page, you’ll find a plus sign.
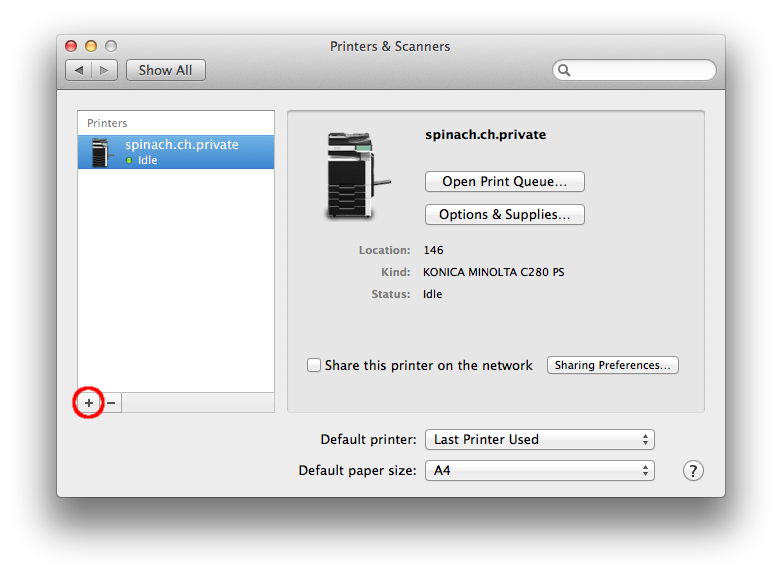
- You need to click on it to add your printer to the list of available devices.
- Now, you may need to adjust some settings, such as paper size, print quality, etc.
- After that, you need to confirm that the printer is ready to print. To check this, you must head to the Printers & Scanners preferences page.
- There, you will see the status as “Online” or “Ready.” If you see any of these statuses, your printer is ready for the printing tasks.
This is how to setup Rollo printer on Mac operating system and get it ready to print.
Step 5: Get a Test Print
When the Rollo printer setup on Mac is complete, you need to take a test print to check its print quality. Continue with the steps given below to test your printer.
- Open a document you would like to print randomly. You can use any label or paper to check the printer’s function.
- Then, choose your printer as the default device.
- Now, start the print job by hitting the “Print” button and verify the print settings.
- Also, check everything while the printer is printing your document.
- When you get the printed document, check its quality, accuracy, and every aspect.
- Lastly, run multiple print tests to ensure the printer’s functionality and accuracy.
That’s it for printing a test print. Now, you can utilize your Rollo printer in the best possible manner.
Frequently Asked Questions (FAQs)
How to Connect Rollo Printer to Mac Without Wi-Fi?
To connect your printer to a Mac without WiFi, you need a wired connection such as USB. In order to setup a connection with USB, your Mac computer should have USB drivers, and your printer should have a USB port. Initiate the connection by inserting each end into the USB ports of your devices. Then, continue with the on-screen prompts.
Why Is My Rollo Printer Unable to Connect to My Mac?
If your printer is not connecting to your Mac, there could be a few reasons for it. It may be possible that you didn’t install printer drivers correctly. Hence, in this case, you must visit Rollo’s website once again, search for the latest printer drivers, and download them. Also, check the cable connection, ensuring that the cables are not broken or damaged.
Why Do I Need to Install Rollo Printer Drivers?
Printer drivers are the software your device must have to give your printer commands for printing. Without this software, your devices will not link to each other. There is a need for a mediator to translate the commands which your computer sends to the printer.