This guide is for anyone struggling with ‘how to clean Rollo thermal printer‘. A few weeks ago, I encountered label printing issues while running my online business, which inspired me to write this guide. I was getting positive responses from customers, and everything was working fine until my printer started producing faded, blurry labels. Everything seemed perfect; my website was live, and the products were ready, but the most challenging part was that my labels weren’t ready.
I was already frustrated by the time and resources I had wasted. Before realizing the printer needed a proper cleaning. That experience led me to write this guide. If you’re still unsure where to begin, follow this guide to clean your printer and complete your pending work quickly. So, let’s start!
Why Cleaning Your Rollo Printer Matters?
Cleaning your Rollo printer is crucial for maintaining print quality, extending the printer’s lifespan, and preventing issues like jams and software disruptions. Regular cleaning ensures sharp, consistent, and clear prints and avoids problems like blurry or unreadable labels.
Dust, adhesive, and debris often collect on the print head and rollers. If left unchecked, they can cause smears and smudges on your labels, ruining projects and wasting materials. A clean printer ensures the paper can be removed smoothly without getting stuck.
How Often to Clean Your Rollo Printer?
Try cleaning your printer every time you replace the label roll or ribbon. It should be cleaned more frequently if you print a lot of adhesive direct thermal labels or work in a dusty environment. Regular cleaning ensures optimal print quality and prevents premature wear of the print head. Avoid using harsh chemicals/abrasive materials that could damage the print head.
- Light use (1-2/week): Clean every 2-3 months
- Frequent use (daily or high-volume): Clean once a month
- Clean immediately if:
- Prints are faded or patchy.
- Labels are misfeeding or jamming.
Precautions Before Cleaning
Before cleaning your printer, you can take the following precautions:
- Always turn off the printer and disconnect it from the power source before starting any cleaning procedure.
- If the printer (especially the print head) was used, allow it to cool down after use to prevent burns.
- If you have any optional accessories connected to the printer, disconnect them before cleaning.
- Never use water or household cleaners like glass cleaner or bleach. These can damage the internal components and may leave a residue that affects printing.
- Do not use harsh, heavy chemicals, solvents, or abrasive cleaners on the printer.
Beginner Tip: Never use paper towels, as they will leave fibers behind.
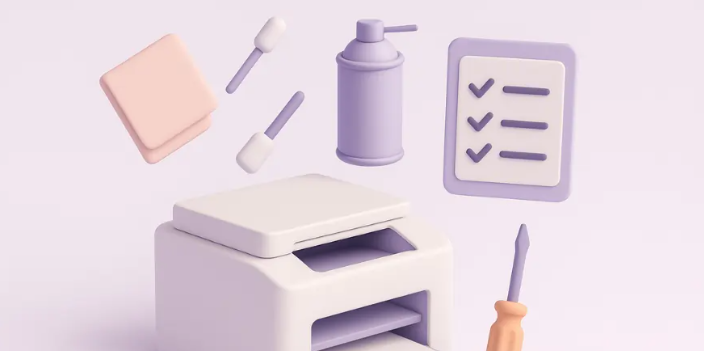
What You’ll Need for Cleaning Your Rollo Printer
Gather these essentials before starting the cleaning process for your thermal printer.
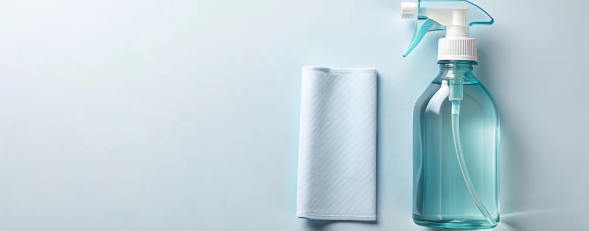
- Lint-free cloth or microfiber cloth
- Isopropyl alcohol
- Cotton swabs
- Cleaning cards and pens (optional)
- Compressed air for removing dust
- Rollo cleaning wipes
How to Clean Rollo Thermal Printer: Quick and Easy Steps
Follow this quick tutorial guide to clean your Rollo thermal printer:
Step 1: Power Down and Cool
- Turn off the printer and unplug it from the power source.
- Allow the print head to cool down if it was recently used.
- Open the printer’s cover.
Step 2: Click the Print Head
- Gently wipe the thermal print head with a lint-free cloth in a back-and-forth motion.
- Use a cotton swab dipped in isopropyl alcohol to wipe the print head gently (Recommended).
- This step ensures smooth label movement.
- Avoid using excessive force or touching the print head with your fingers.
- Try using a cleaning pen designed for thermal printers.
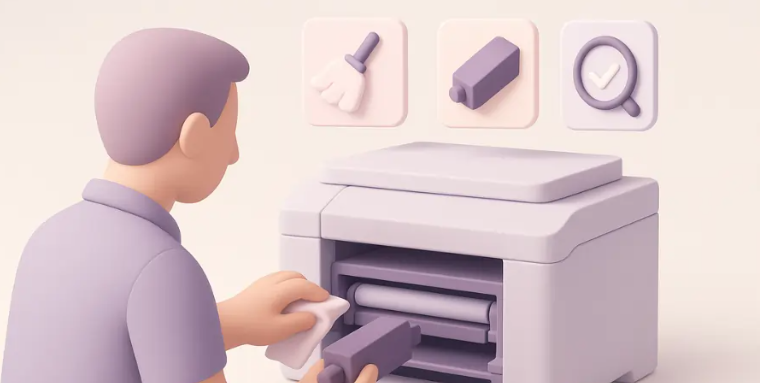
Step 3: Clean the Rollers and Sensors
- Inspect the roller for any damage.
- Locate the platen roller (the rubber roller that feeds the paper).
- Clean the roller and sensors with a lint-free cloth and isopropyl alcohol, removing any adhesive residue or debris.
This step helps ensure the smooth movement of labels and prevents jams.
Step 4: Dry and Reassemble
- Allow all your cleaned components to dry completely before reassembling the printer.
- Make sure no alcohol residue is left behind.
- Carefully close the printer cover or access panel.
Step 5: Recalibrate and Self-Test
- Power on the printer.
- Refer to the printer’s manual or documentation for instructions on how to perform a calibration or self-test.
- This ensures the printer is properly calibrated and functioning correctly after cleaning.
With this perfect ‘how to clean Rollo thermal printer guide‘, you can save money on wasted labels and deliver better-quality shipping and product labels.
Troubleshooting After Cleaning Your Rollo Printer
So, you’ve cleaned your Rollo thermal printer, but it’s still not printing correctly? Don’t worry; here are a few quick things to check:
- Are the labels failing to feed properly?
- Make sure the label roll is loaded correctly, and the guides aren’t too tight.
- Reopen the printer and realign the roll if needed.
- Faded or blank prints?
- Check if the labels are thermally compatible. Rollo printers only work with thermal labels.
- Make sure that the print head is completely dry and free from any residue.
- Misaligned labels?
Run a calibration through the Rollo software app. This helps the printer detect label size and spacing again.
- Are error lights still flashing?
Double-check the top cover and ensure it’s fully closed. A slight lid can trigger warning lights.
Frequently Asked Questions (FAQs)
Can Improper Cleaning Damage the Rollo thermal Printer?
Yes, improper cleaning can damage a Rollo thermal printer. The print head is a delicate component, and using excessive force can scratch or damage it. Some cleaning methods may leave behind residue that can interfere with the printing process or damage the printer over time. If not properly handled, moisture from cleaning solutions can cause corrosion or short circuits. The wrong cleaning methods can lead to poor print quality or even permanent damage.
What are the Signs that My Rollo thermal Printer Needs Cleaning?
Common signs that your Rollo thermal printer needs cleaning include frequent paper jams, printing errors, faint or distorted printouts, smudged or incomplete prints, and unusual noises during operation. If labels consistently get stuck, it could be due to adhesive buildup or debris interfering with the paper path. Errors like white spots or lines on labels often indicate a dirty print head. Faded or incomplete prints can be a sign of a dirty print head or a problem with the paper or ribbon.